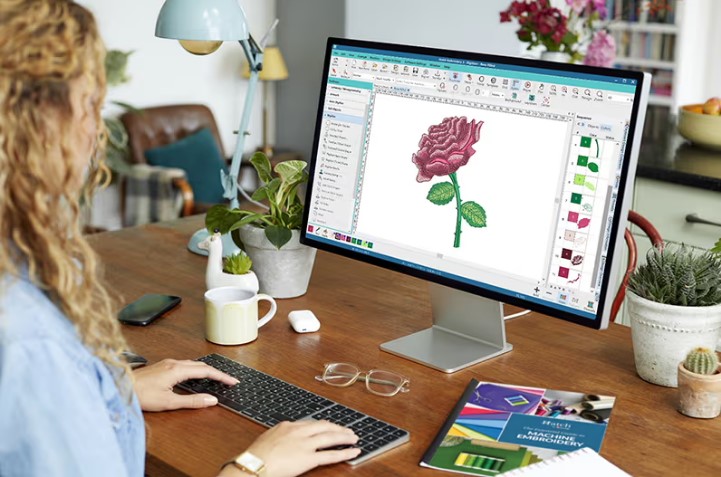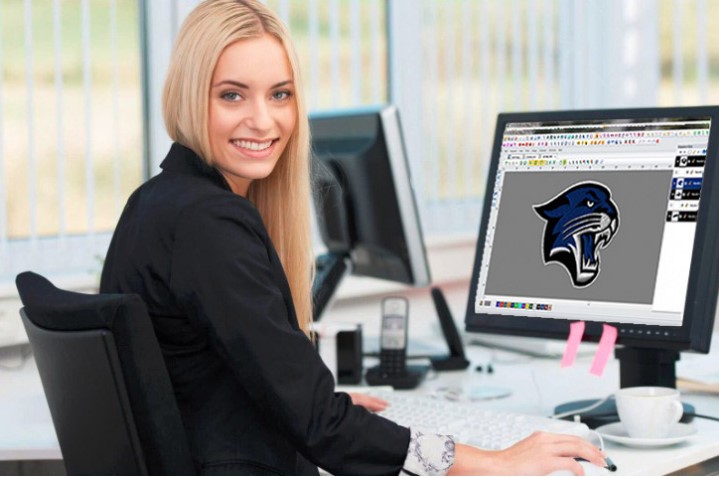
A great embroidered logo does not happen by chance. It starts with good planning and a high-quality embroidery file. Even if you own a modern embroidery machine, the final result depends on how well the design is prepared before stitching begins. A well-digitized logo creates clean lines, smooth stitches, and a professional finish.
This Embroidery Logo Digitizing Guide explains how artwork becomes a stitch-ready embroidery file. It also shows why professional digitizing is important for clean stitching, fewer machine problems, and better embroidery results. Learning the basics can help you avoid costly mistakes and create embroidery that looks sharp on every project.
Embroidery logo digitizing is the process of changing a logo into a file that an embroidery machine can read.
This process is different from changing one image format into another.
A logo image only shows colors and shapes.
An embroidery file contains stitch information.
The file tells the machine:
Without this information, the machine cannot stitch the logo correctly.
Many people believe the embroidery machine creates the quality.
That is only partly true.
The machine follows the instructions inside the embroidery file.
If the file is poor, the finished logo will also look poor.
A professionally digitized logo helps produce:
Good digitizing makes every stitch count.
Creating a machine-ready embroidery file takes several careful steps.
Every design is different.
An experienced digitizer studies the artwork before creating stitches.
The digitizer checks the design carefully.
They look at:
This helps them plan the embroidery correctly.
Every part of the logo needs the correct stitch.
Common stitch types include:
Using the correct stitch improves both appearance and strength.
The order of stitching matters.
Good stitch planning reduces thread trims and machine stops.
It also creates smoother embroidery.
Underlay creates a stable base.
It supports the top stitches and helps prevent fabric movement.
Too many stitches make the fabric stiff.
Too few stitches leave empty spaces.
Professional digitizers balance the stitch count for the best result.
Fabric stretches during embroidery.
Pull compensation keeps shapes and letters looking correct after stitching.
Many software programs offer automatic digitizing.
They are fast.
However, they often create poor-quality embroidery.
Manual digitizing gives much better results because every stitch is planned with care.
Experienced digitizers adjust:
These small changes improve embroidery quality.
A poor embroidery file can create many stitching problems.
Poor stitch paths increase thread breaks.
Too many stitches pull the fabric.
This creates wrinkles around the design.
Small text becomes hard to read.
Bad stitch planning leaves gaps.
Machines stop more often because of poor files.
Professional digitizing helps prevent these issues.
Not every fabric behaves the same.
The embroidery file should match the material.
Cotton is stable.
Most logos stitch well on cotton fabric.
Textured fabric needs careful stitch settings.
Small letters require extra attention.
Caps have curved surfaces.
Digitizers adjust the stitch path to keep the logo balanced.
Soft fabric stretches more during embroidery.
Extra support creates better results.
Heavy materials often require different stitch settings.
Experienced digitizers understand these differences.
Good artwork creates better embroidery.
Follow these simple tips.
High-quality artwork gives the digitizer more detail.
Very small letters may not stitch clearly.
Simple fonts work best.
Tiny shapes may not show well in embroidery.
Simple designs often produce cleaner results.
Tell the digitizer:
These details help create a better embroidery file.
Professional digitizing offers many advantages.
Every stitch is carefully planned.
The embroidery looks cleaner.
Good files reduce machine stops.
Orders finish more quickly.
Better files reduce thread breaks and damaged garments.
Fewer mistakes save money.
The same logo stitches beautifully every time.
This is important for company uniforms and large orders.
Many people and businesses use embroidery digitizing every day.
These include:
Anyone creating embroidered logos can benefit from professional digitizing.
Choosing the right service makes a big difference.
Look for these qualities.
Experience improves embroidery quality.
Manual digitizing creates better files than automatic software.
Quick delivery helps businesses meet deadlines.
Every file should be reviewed before delivery.
Good communication makes every project easier.
Professional companies like Digitizing Buddy carefully prepare embroidery files that match the artwork, fabric, and machine. Their attention to detail helps customers produce cleaner embroidery with fewer production problems.
Embroidery digitizing is more than using software.
It takes years of practice.
Experienced digitizers understand:
These skills help create embroidery that looks neat and professional.
Small adjustments often make a big difference in the final result.
That is why experienced digitizers continue to review and improve every design before delivery.
Follow these ideas to improve every embroidery project.
Clean artwork creates better embroidery files.
Always stitch one sample first.
Small changes are easier before large orders.
Different fabrics need different settings.
A clean embroidery machine performs better.
Good thread improves the final appearance.
Many beginners make the same mistakes.
Learning about them helps improve embroidery quality.
Poor files often cost more because they create mistakes.
Tiny letters may not stitch clearly.
Simple adjustments improve readability.
Automatic software cannot replace skilled manual work.
Every embroidery file should be tested before production.
This saves both time and money.
Some people only compare digitizing prices.
The real value comes from fewer mistakes.
A quality embroidery file reduces:
Professional digitizing also helps businesses finish more orders with greater confidence.
Companies like Digitizing Buddy focus on creating machine-ready embroidery files that help customers achieve smooth stitching, consistent quality, and professional-looking embroidery on every project.
A great embroidered logo begins with a great embroidery file. No embroidery machine can produce excellent results without proper digitizing. Every stitch must be planned carefully to match the artwork, fabric, and machine.
Professional embroidery logo digitizing improves stitch quality, reduces machine problems, saves production time, and creates consistent results. Whether you are stitching uniforms, hats, jackets, polo shirts, or promotional products, investing in a professionally digitized logo helps every project look its best.
Choosing an experienced provider like Digitizing Buddy gives you confidence that your artwork will be transformed into a high-quality embroidery file that delivers clean, smooth, and reliable stitching every time.

This post has been authored and published by one of our premium contributors, who are experts in their fields. They bring high-quality, well-researched content that adds significant value to our platform.








Home Guide provides trusted home improvement tips, DIY ideas, maintenance guides, and interior design inspiration to help you create a smarter, safer, and more beautiful home.